
Smart DNS on Samsung and LG Smart TVs in 2026: Tizen and webOS Setup That Works
Samsung (Tizen) and LG (webOS) TVs both accept manual DNS, but each hides it differently. Here is the exact Smart DNS setup for both, plus the fixes when streaming apps still show your real region.

Networking Editorial
Quick Answer
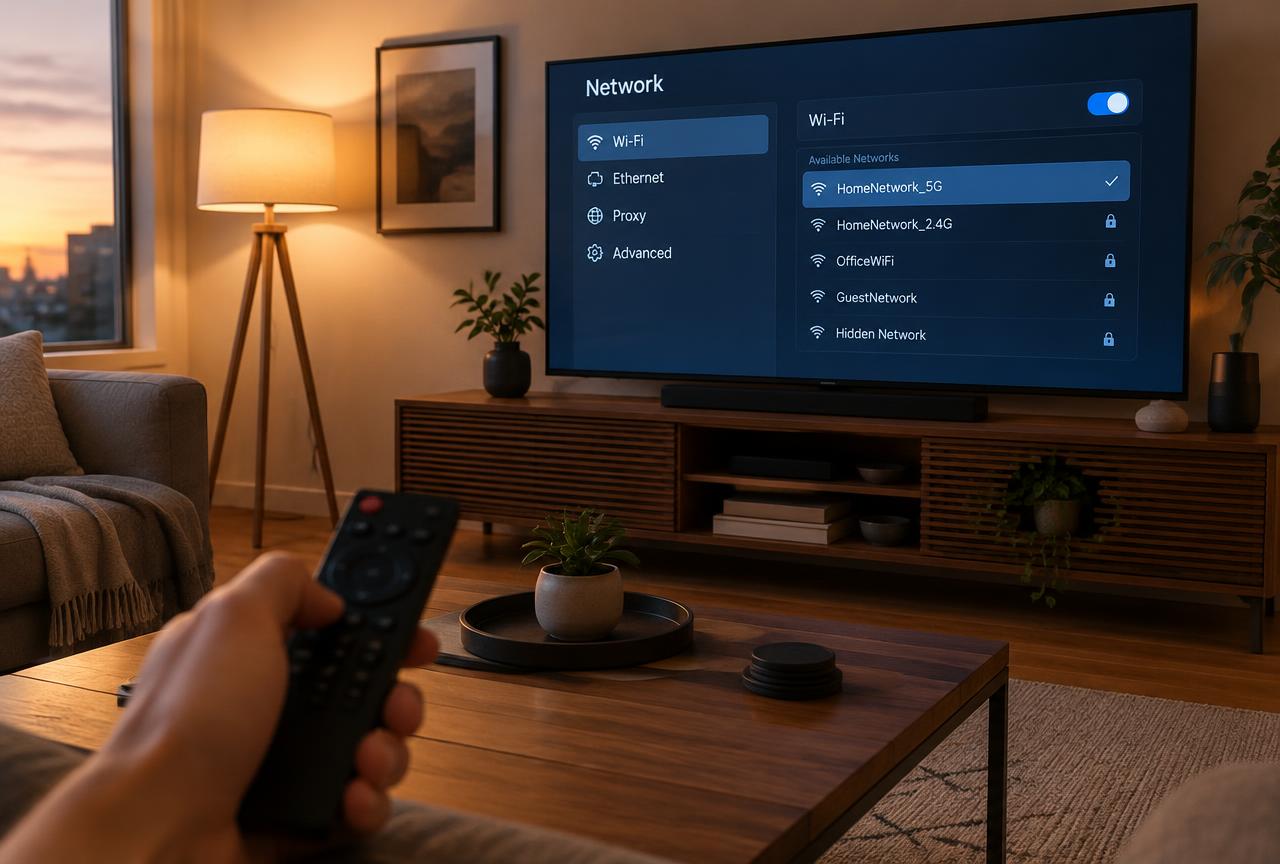
Samsung and LG smart TVs are the two easiest TVs for Smart DNS because both accept a manual DNS entry directly on the device no router changes needed. On Samsung (Tizen): Settings, General, Network, Network Status, IP Settings, DNS Setting, Enter Manually. On LG (webOS): Settings, Network, Wi Fi or Ethernet, Edit, uncheck Set Automatically, enter the DNS. Then register your public IP in your Smart DNS provider's dashboard and restart the TV. If a streaming app still shows your real region afterwards, the app is pinning its own resolver and you need the router level fix instead.
Why Samsung and LG Are Easier Than Roku or Chromecast
Roku blocks manual DNS entirely and Chromecast hardcodes Google's 8.8.8.8 resolver, which is why both of those devices need router level workarounds. Samsung's Tizen and LG's webOS are friendlier: each has a real DNS field in the network settings, and neither platform forces its own resolver on apps at the firmware level. For most people, a five minute on device setup is enough.
The catch is that the DNS field is buried differently on each platform, the menu paths change between model years, and a few streaming apps ignore system DNS altogether. This guide gives the exact 2026 menu paths for both brands, the verification steps, and the fallback when an app refuses to cooperate.
Samsung vs LG: Where the DNS Setting Lives
| Samsung (Tizen) | LG (webOS) | |
|---|---|---|
| Menu path | Settings, General, Network, Network Status, IP Settings | Settings, Network, Wi Fi/Ethernet, Edit |
| Manual DNS field | DNS Setting, Enter Manually | Uncheck Set Automatically, DNS Server field |
| Secondary DNS | Not exposed primary only | Not exposed primary only |
| Restart required | Yes, cold boot recommended | Yes, full power cycle |
| Router fallback needed? | Only for apps that pin their own DNS | Only for apps that pin their own DNS |
Samsung Smart TV (Tizen): Step by Step
Copy your provider's DNS address
Log in to your Smart DNS account and copy the primary DNS address for your region. Samsung only exposes one DNS field, so use the primary.
Open Network Status
On the TV remote: Settings, General, Network, Network Status. Let the connection test run, then choose IP Settings at the bottom.
Enter the DNS manually
Set DNS Setting to Enter Manually and type the provider's DNS address. Leave IP Setting on automatic only the DNS needs to change.
Register your public IP
In the Smart DNS provider's dashboard, click the activate or update IP button. The provider will not answer your queries until your IP is registered.
Cold boot the TV
Hold the power button on the remote until the TV fully restarts (the Samsung logo appears). A quick power off leaves the TV in standby and keeps the old DNS cached.
Verify
Open the provider's status page on a phone on the same network, then open the streaming app on the TV and confirm the expected region's catalogue loads.
LG Smart TV (webOS): Step by Step
Copy your provider's DNS address
From your Smart DNS account dashboard, copy the primary DNS address for your region.
Open the network editor
Settings, Network, then select your active connection (Wi Fi or Wired Ethernet) and choose Edit.
Disable automatic setup
Uncheck Set Automatically. This unlocks the IP and DNS fields. Leave the IP, subnet and gateway exactly as they were only change DNS Server.
Enter the DNS and connect
Type the provider's DNS address, save, and let the TV reconnect to the network.
Register your public IP
Activate your IP in the Smart DNS provider's dashboard, same as on Samsung.
Power cycle the TV
Unplug the TV from the wall for 30 seconds. webOS caches network state aggressively; a standby toggle is not enough.
When the App Still Shows Your Real Region
A small number of streaming apps ignore the TV's system DNS and query a resolver pinned inside the app itself. The symptom is specific: the provider's status page shows your IP as registered, the TV's DNS is correct, but one particular app still serves your home region while others work.
The fix moves to the router: set the Smart DNS addresses in the router's WAN/DHCP DNS settings and, if the app pins a public resolver like 8.8.8.8, add static routes that blackhole those addresses so the TV falls back to the router resolver. The exact static route method is covered in our Chromecast guide and works identically for Samsung and LG sets.
Common Mistakes
- Skipping IP registration in the provider dashboard. The DNS address does nothing until your public IP is activated.
- Using standby instead of a cold boot. Both Tizen and webOS cache DNS; only a full restart picks up the change.
- Changing the IP setting to manual along with DNS. Leave IP assignment on automatic a wrong static IP takes the TV offline.
- Entering the secondary DNS from a different provider on the router as a fallback. Mixing resolvers breaks region checks intermittently.
- Testing with an app that was already open. Force close and reopen the streaming app after the DNS change so it re runs its region check.
- Assuming a VPN app is an alternative. Samsung and LG TVs have no native VPN app support; Smart DNS or a router level VPN are the only options.
Smart DNS vs Router VPN on Samsung and LG
Neither TV platform supports VPN apps, so the choice is Smart DNS on the device or a VPN on the router. Smart DNS is faster (no encryption overhead) and less detectable by streaming apps, but it changes nothing else about your traffic. A router VPN protects every device on the network and also fixes region checks, at the cost of some speed. If you already have a VPN subscription, check whether it includes a Smart DNS feature Surfshark and NordVPN both bundle one, which saves paying for a separate Smart DNS service.
Which Setup Should You Use?
| Your situation | Recommended setup |
|---|---|
| Only want another region's streaming catalogue | Smart DNS on the TV (this guide) |
| One app ignores the TV's DNS | Smart DNS on the router + static routes |
| Want privacy for the whole home network | VPN on the router |
| No Smart DNS service yet | A VPN with Smart DNS bundled (Surfshark, NordVPN) |
Conclusion
Samsung and LG are the two TVs where Smart DNS just works: enter the provider's DNS in the network settings, register your IP, cold boot, and you are done. The only real complication is apps that pin their own resolver, and that is a router level fix. If you do not have a Smart DNS service yet, the most economical route is a VPN that bundles one Surfshark's Smart DNS is included in its $1.99/mo two year plan.
FAQ
How do I change DNS on an LG smart TV?
Settings, Network, select your Wi Fi or Ethernet connection, Edit, uncheck Set Automatically, then enter your Smart DNS address in the DNS Server field. Save, reconnect, and power cycle the TV by unplugging it for 30 seconds.
How do I change DNS on a Samsung smart TV?
Settings, General, Network, Network Status, IP Settings, then set DNS Setting to Enter Manually and type the address. Cold boot the TV afterwards by holding the power button until the Samsung logo appears.
Why is my Smart DNS not working on my Samsung or LG TV?
The three most common causes: your public IP is not registered in the provider dashboard, the TV was only put in standby instead of fully restarted, or the streaming app pins its own DNS resolver and needs the router level static route fix.
Can I install a VPN directly on a Samsung or LG TV?
No. Neither Tizen nor webOS supports VPN apps. Your options are Smart DNS on the TV, or a VPN configured on your router, which covers the TV along with every other device.
Does Smart DNS slow down streaming on my TV?
No. Smart DNS only reroutes the DNS lookups used for region checks. The video stream itself travels directly from the streaming service to your TV at full speed.
Do I need a separate Smart DNS subscription if I have a VPN?
Often not. Surfshark and NordVPN both include a Smart DNS feature with their subscriptions. Check your VPN account dashboard for Smart DNS or SmartPlay settings before paying for a standalone service.